As a product development company, we focus on applying lean principles and working with insight. This requires prioritizing frequent and focused prototyping throughout a project’s lifecycle. And it means we as designers and developers must have an in-depth understanding of the tools at our disposal — and their application — whether we’re working with machines (which we discussed on our blog last week) or injection molding and 3D printing.
Plastic Part Design (AKA Injection Molding)
When it comes to plastic part design, we’re usually referring to plastic injection molding. Like many plastic part processes, injection molding is a type of additive manufacturing.
This process is often used for making plastic parts from materials such as ABS (a common thermoplastic polymer) or polycarbonate. These materials typically start out in pellet form and are fed into the molding machine where they are compressed, heated, liquefied, and forced into a mold cavity or “tool”. Here they will cool and solidify before the tool is opened and the part ejected out of the machine.
We take many things into account when designing parts for injection molding. The most important is to incorporate draft into the tooling or mold. Simply put, this requires designing the vertical walls of a part so they are tapered, which allows for easy release of the part from the mold once it has solidified. Generally, draft angle is in the range of 1 to 1.5 percent, but this may vary depending on a part’s geometry and finish, such as its texture.
Features such as texture are common on plastic parts. Texture provides more material to the part, slightly improving its strength and adding a nice aesthetic. However, texture requires considerations be made during the design phase in order to be produced correctly. It also adds to the cost of the tooling.
If a part needs texture, overhangs, or other more complicated features, the mold becomes more complicated as well, increasing the overall tooling cost.
Here’s a great overview of injection molding:
3D Printing and Other Additive Manufacturing
The rise of readily available and inexpensive 3D printers led to an explosion of home-built trinkets and parts. But in terms of manufacturing, 3D printers are useful for product designers. They enable us to produce parts quickly and on-demand, which we can then use to help a client visualize a design (or even to create a mockup).
This is a great tool for development and one-off parts and prototypes, as it can save time and money. 3D printers can be designed to operate on either Cartesian or polar coordinates, although Cartesian is the most common by far. Large polar printers are used to rapidly produce grain silos or houses. In these large machines, cement or a similar material is used.
A common misconception about 3D printers is that they can make anything. However, in reality, there are several limitations to these tools. Take, for instance, print bed size. Most do not exceed 20 inches in height, width, and depth — which limits what is printed to smaller parts. Sometimes a large object can be assembled by printing the object in blocks and using an adhesive to bind the individual parts together.
3D printing technology is still being developed, and there are many applications people are trying. We tend to think of 3D printers more as a tool than a go-to manufacturing solution. (We will explain why shortly.)
Sintering
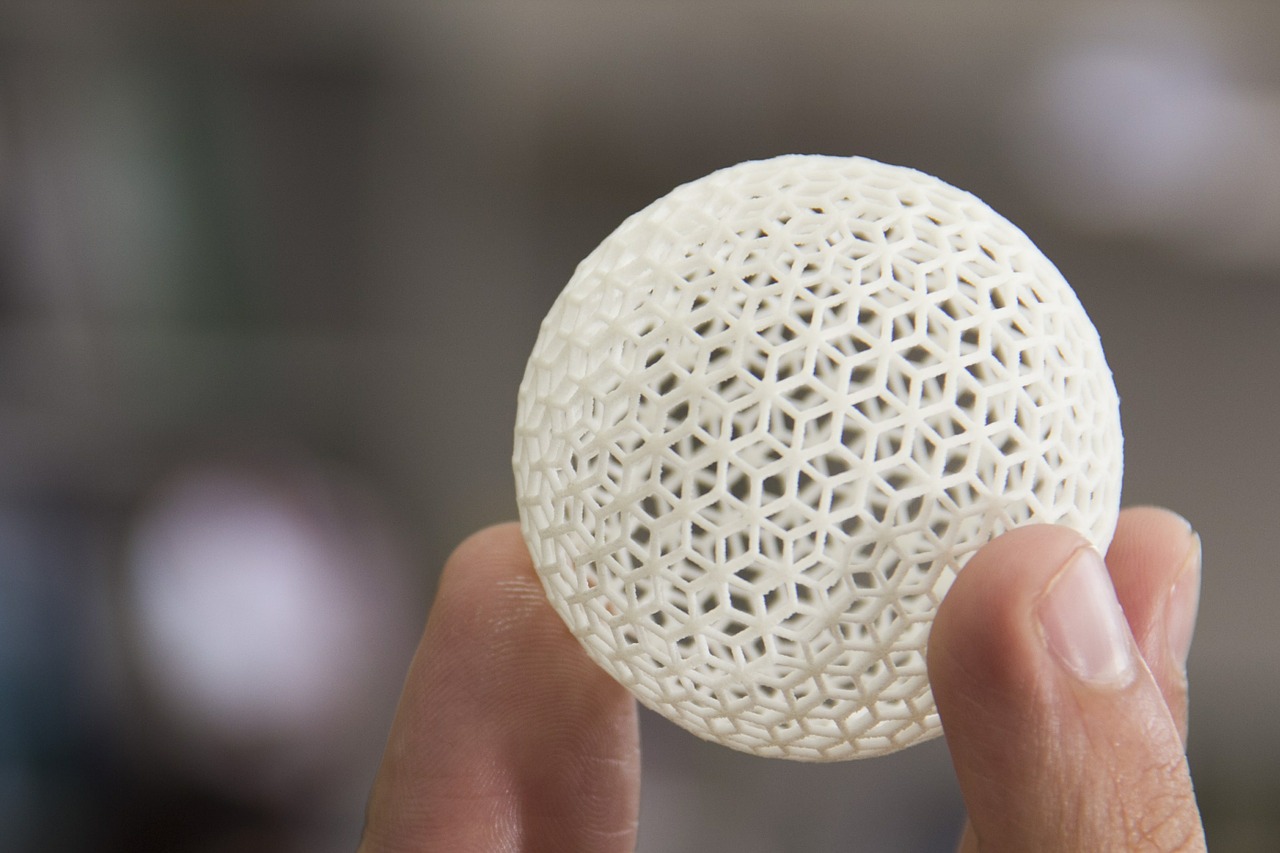
Sintering is similar to 3D printing in that the process produces a part in an additive manner, layer by layer. Instead of extruding filament from a nozzle, the sintering starts with a bed of powdered material (which can include metals). Then a laser is used to fuse the powdered material together.
Sintering is a technique that offers more dimensional flexibility than printing. Because sintering does not produce parts that are strong at a molecular level, parts can (in some cases) be baked in order to fuse them together. This makes parts more suitable for applications where they are subjected to force and heat.
Thermoforming and Blow Molding
Thermoforming is a technique that involves heating up a sheet of plastic and then sucking it down onto a mold with a vacuum. This method is good for making things like bicycle helmet covers and can even be used to make larger parts like fenders for light rail trains.
Blow molding is a similar process, but instead of lowering hot plastic onto the mold, air is injected into the plastic to fill a form. This is a common method for making bottles and other bulbous shapes where an injection mold can’t be used.
Rotomolding
For big objects, such as trash cans, water barrels, or kayaks, rotomolding (also called rotational molding) is the way to go.

In rotomolding, plastic nuggets are first loaded into a form. Then, the form is heated and rotated on an enormous machine. As the plastic heats up and melts, it fills the form of the mold. The rotation enables the plastic to fill every part of the mold and get an even fill throughout the shape. Once cooled, the plastic part is removed and excess material is cut away.
Production Economics: Injection Molding vs. 3D Printing
Some might wonder why we can’t just 3D print a bunch of plastic parts for a client instead of investing in an injection mold. This is because 3D printing becomes exponentially more expensive as volume increases.
This is also why we use five- or six-axis mills when producing complex metal parts for clients. It takes far less time (and therefore costs less) to produce multiple parts on these machines than it does to use a manual three-axis or something else.
Let’s do some production economics.
Say we’re printing bottle openers. A single 3D print will use about $0.05 worth of ABS filament in a single print, and it will take about eight minutes per opener with the settings we have selected. It’s a good print, but we need to make 1,000 of them for a client’s upcoming conference.
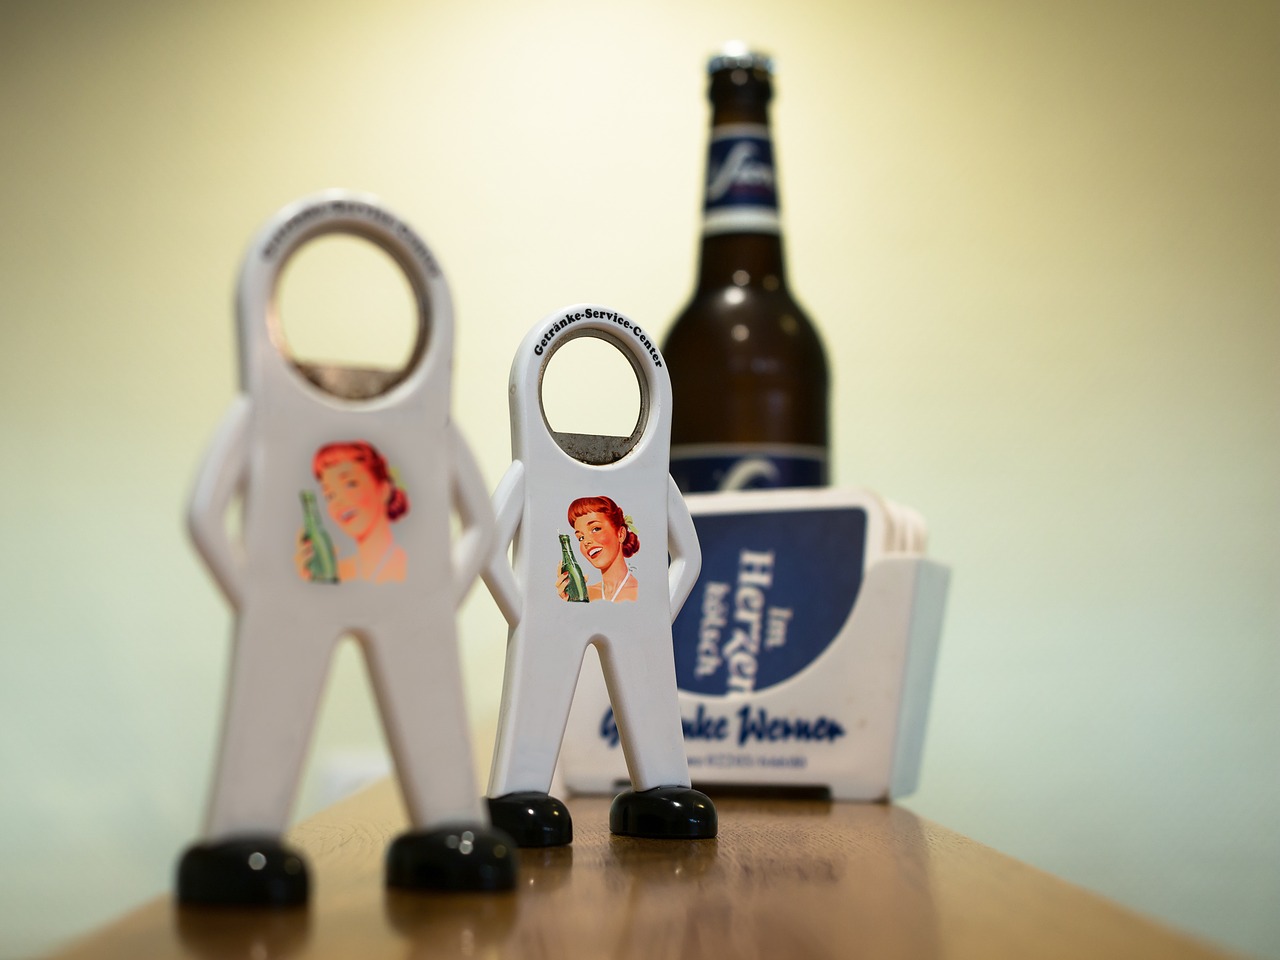
To print 1,000 bottle openers at eight minutes per print would take 8,000 minutes. That’s roughly 5.5 days — assuming we print non-stop, have no issues, and can swap filament reels without losing time. We can certainly do this. At $0.05 a print, it will only cost us $50 in filament but it will also take 5.5 days. Not only is this an inefficient way to make 1,000 plastic bottle openers, but our labor costs will end up costing the client much, much more than they’d expect to spend.
To do this same job right, we’d ideally want to set up an injection mold. The tooling will cost about $4,000. However, it can make ten bottle openers in a single run — and can do all 1,000 in just a single day.
Insightful Product Development
As illustrated above, insight and experience are required when deciding which processes to employ during product development. Our clients expect us as professional designers and developers to make decisions that are sensitive to their deadlines and budgets — while also not compromising the integrity of the product we’re developing.
If you think this approach is a good fit for your project, don’t hesitate to contact us. In the meantime, take a look at our portfolio for examples of past and current work.
.jpg)
